Why Are There No Updated Amounts on the Debtor and Creditor Aging Report? (New Vers.)
Still seeing amounts on your Debtor or Creditor Aging Report after recording payments? Follow these steps to resolve the issue.
Learn How To
- Method 1: Check payment in Purchase Invoice
- Method 2: Ensure Journal Credit and Debit amounts are the same
- Method 3: Journal Binding
- Method 4: Opening Balance Date
- Method 5: Payee ID
- Method 6: Enable GST
Method 1: Check payment in Purchase Invoice
1. Click on Purchase Invoices
2. You can view your payments under the paid column
3. To add payment, click on the three-dot menu
4. Click on Add Payment
(To know more about adding payments, please refer to How To Make Payment in Sales/Purchase)
Method 2: Ensure Journal Credit and Debit amounts are the same
5. Click on Accounting and select 'Journals'
6. Select a journal
7. Ensure the debit and credit amounts are balanced
Method 3: Journal Binding
8. Click on Settings
9. Click on Accounting
10. Click on General Journal Binding
11. You can reach out to our technical team for assistance. If everything is in order on their end, please review your accounting linkages and ensure that your journal entries are correct, especially if you’ve made customisations.
Method 4: Opening Balance Date
12. Click on Accounting and select 'Opening Balance'
13. Ensure the dates match your purchase invoice. If the date is earlier, adjust it accordingly.
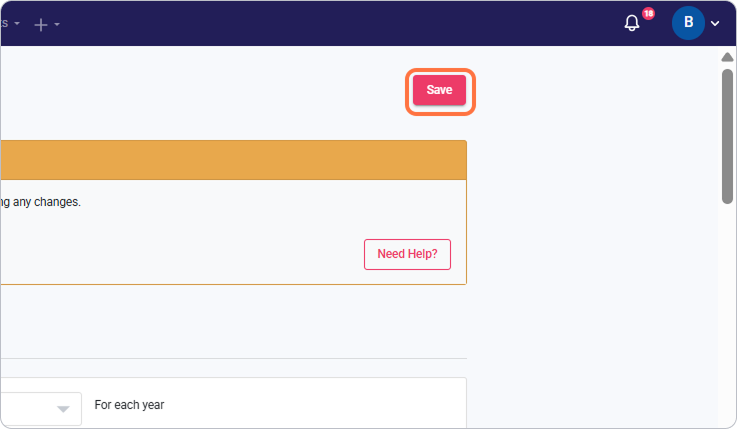
14. Click on Save

Method 5: Payee ID
15. Click on Accounting and select Journals
16. Click on Edit or select a journal
17. Check if Account Payable and Account Receivable is associated with a Payee
Method 6: Enable GST
18. Click on Settings
19. Click on Taxes
20. Click on GST
21. Check Enable GST
(Check the invoice to see if GST was previously enabled. If yes, enable GST to see if the amounts are the same as before.)
Was this article helpful?
That’s Great!
Thank you for your feedback
Sorry! We couldn't be helpful
Thank you for your feedback
Feedback sent
We appreciate your effort and will try to fix the article


